Why you should know about The Real Bread Campaign
You are walking down your local High Street and you smell that familiar smell lingering in the air, wafting from a nearby building. It’s an unmistakable smell, the smell of a freshly baked loaf. There is arguably nothing better, and it takes a strong person to be able to walk on by without stopping and buying from wherever that delicious smell is coming from!
But are you aware of The Real Bread Campaign? This project is campaigning to keep these bakeries in your local High Street, and not just that. Read on to find out what it’s all about, and why it’s integral for our communities.
So, what is The Real Bread Campaign?
The Real Bread Campaign was co-founded by Andrew Whitley of Bread Matters, and Sustain: The alliance for better food and farming, the charity that runs the Campaign. The Campaign was officially launched on 26 November 2008.
In short, the project campaigns for better labelling of bread products, as well as making sure that real bread is available locally to everyone.
But what is “real bread”?
The Real Bread Campaign defines real bread as “made without chemical raising agents, so-called processing aids or any other additives”. The average loaf of bread that is sold in the main supermarkets and made by the bigger names in the industry typically contain additives. According to their research, over 95% of the bread that is sold does not meet these standards.
Typically, the bread you will find at independent, small bakeries and stores is much more likely to be defined as real bread.
What are the benefits of real bread?
It’s all down to personal preference, but there are a number of different reasons why real bread may be the best choice. We’ve broken them down below:
It’s better for you
Generally, the less artificial additives in your food, the better that product is for your health. All you need are simple, natural ingredients.
It’s better for your community
Small, local, independent bakeries were once the heart of every neighbourhood. Today around 80% of UK loaves are produced by the factories of a handful of industrial bakers and another 15-17% by supermarkets – places far removed physically, socially and economically from our local communities.
It’s better for the environment
Did you know that the big named bread brands transport around 12 million loaves around the UK each day? Lorries are taken up and down motorways from large bakeries to distribution depots, and from there to smaller hubs, and then onto retailers.
Add that to the environmental impact of the chemicals that can be used in grain production, and this adds a huge negative impact to the environment.
Where can I find real bread?
The best place to find real bread is at your local bakery. As mentioned above, local bakeries are a dying breed, but this campaign is working towards a future where everyone has access to one.
A good alternative is to take a look on Online High Street. Enter your postcode, and it will show you all the independent bakeries, butchers, cheesemongers and more that can deliver straight to your door. We have bakeries such as Bridge Baker in Fulham, and The Loaf Tin in Saffron Waldon.
Alternatively, we have shared a simple real bread recipe from The Real Bread Campaign‘s website for you to try baking your own at home! See their website for more details on this incredible campaign.
Basic Real Bread Recipe
Ingredients
500g stoneground bread (strong) flour – white, wholemeal or a combination of the two
340g hand warm (about 25°C) water – see note below on this
10g fresh yeast or 5g dried active yeast (not the stuff that says instant, easy bake, fast acting etc.)
5g salt
A little (about 1tsp) oil, butter etc. for the baking tray
Method
Before you start, wash your hands.
- Dissolve the salt in the water in the measuring jug (if using dried active yeast, dissolve this in the water first and the add the salt).
- Put the flour into a bowl, crumble in the fresh yeast (if using) and rub it into the flour with your fingertips.
- Add the liquid and stir around with your fingers until mixed and no dry bits are left.
- At this point, you can cover the dough and leave it to rest for ten minutes, which will make kneading easier, or carry straight on with the next step.
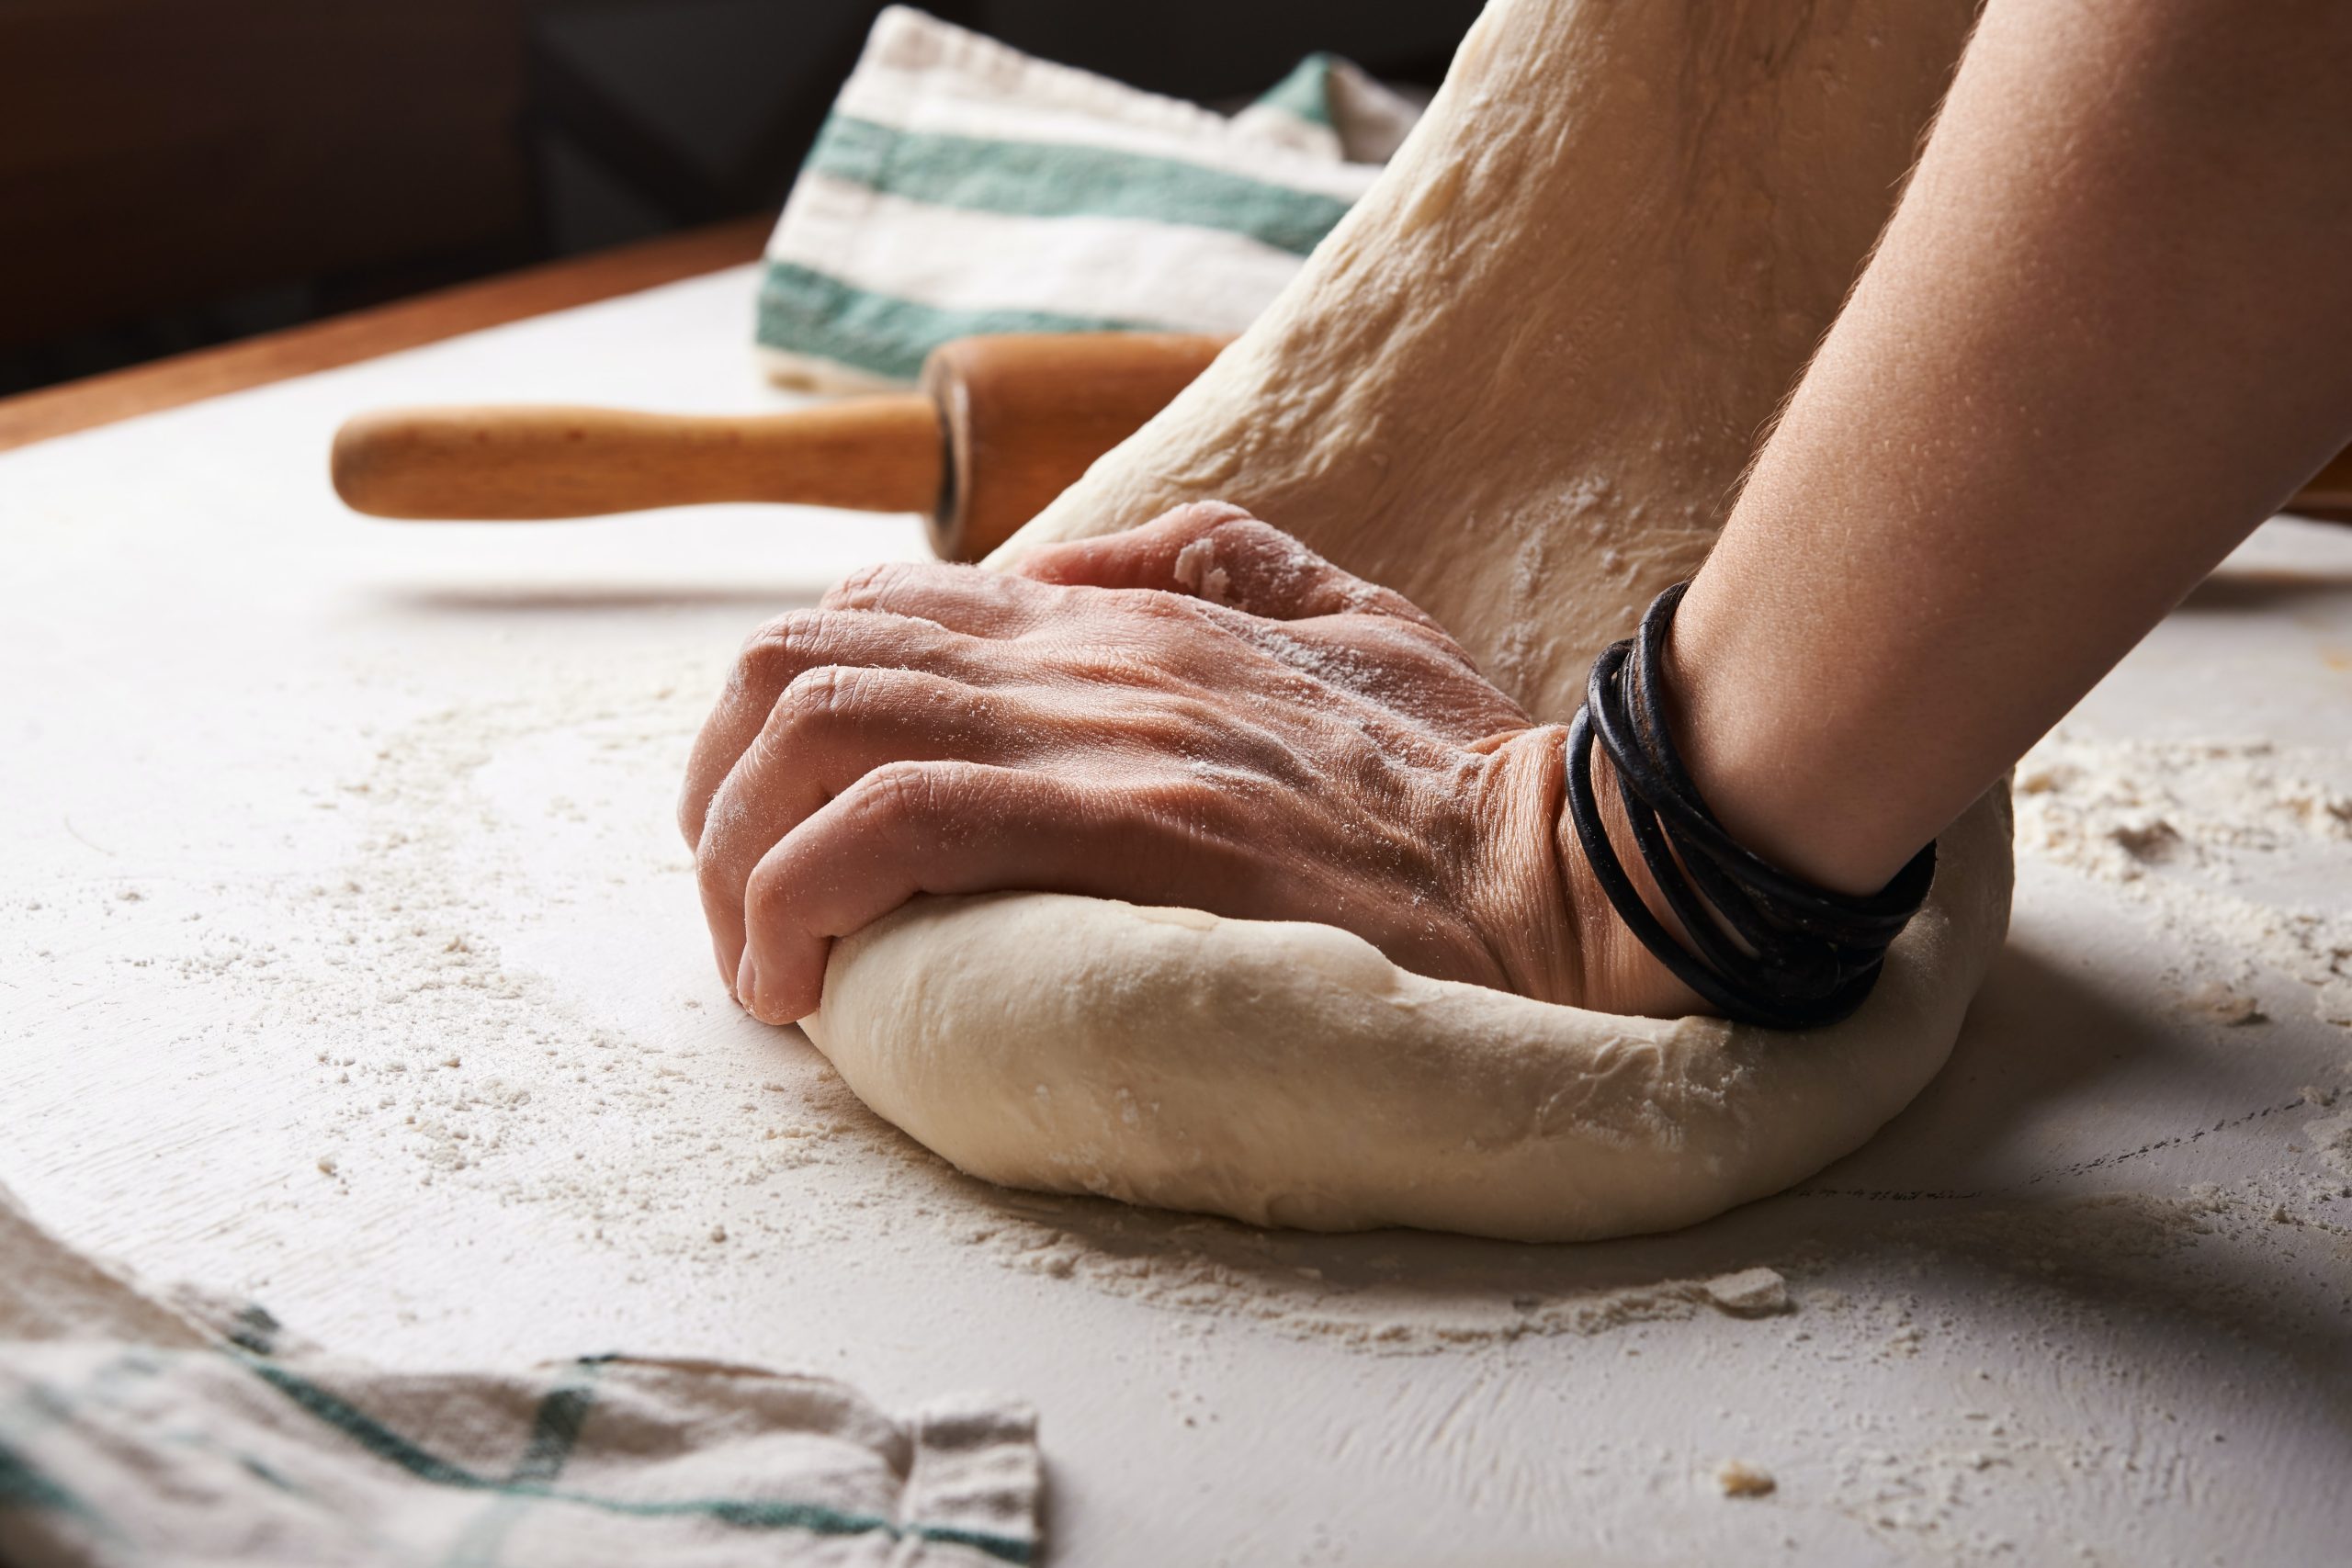
- Work the dough by stretching and folding it over itself until it is smooth and stretchy. This could take ten or fifteen minutes, depending on how vigorous you are. Don’t worry if it seems sticky at first – it will get less so as the flour absorbs the water. Don’t add any extra flour.
- Put the dough back into the bowl and cover the bowl with the tea towel or plastic bag and leave to prove (rise) until the dough has doubled in size. This should take about an hour at room temperature (around 20-22ºC) but will be faster if the kitchen is warm or slower if the kitchen is cold.
- Oil the baking tray evenly
- Wet the worksurface, get your hands wet and scrape the dough out of the bowl. Press gently until you have a square and then pull each of the corners in turn into the centre and press in the middle to make them stick. Flip the ball over, tuck in any corners and round with your hands until you have a smooth ball.
- Put the dough on the baking tray and cover, either with the mixing bowl or by sliding the tray into the plastic bag, making sure that there’s plenty of space between the dough and the cover and leave to prove again for forty minutes to an hour.
- About twenty minutes before the end of the proof, turn the oven on to heat up to 230°C (450°F or gas mark 8).
- Uncover the dough carefully, making sure the plastic doesn’t touch it. If you want, you can dust the dough with flour or brush lightly with milk, beaten egg or oil for a glossy finish but this is not essential. Slide the tray into the oven.
- Bake for fifteen minutes and then turn the heat down to 200°C. Continue to bake for another 30-40 minutes.
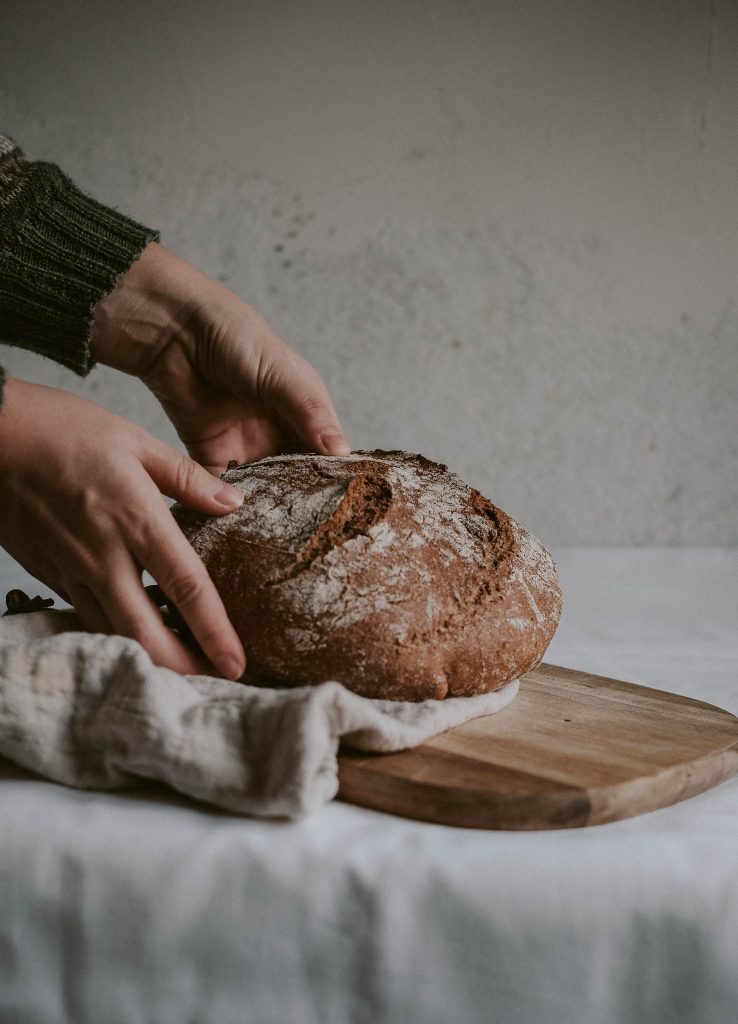
- Wearing oven gloves, remove the baking tray. Put the loaf onto the cooling rack and cover with the tea towel to cool.
Notes
- Electronic scales are the most accurate way to measure all of the ingredients but you don’t have them, then use 350ml water, 1tsp salt and 1 ½ tsp yeast.
- Because of the way it’s made, studies have shown stoneground to be healthier and more nutritious (many people say it tastes better, too) but you can use roller milled – which is the way that everything that doesn’t say ‘stoneground’ is produced.
- As long as the total weight of flour is 500g, then you can vary the ratio of white to wholemeal. Starting with almost all white and adding more wholemeal each time you bake is a good way of introducing healthier, higher fibre bread to those who are not keen on trying it.
- Though included in so many recipes, sugar is unnecessary. The yeast will convert starch in the flour to sugars to feed on.
340g of water is about right for a mixed loaf. If you are making a 100% white loaf, then reduce the water by about 20g. If you are making a 100% wholemeal loaf, add an extra 20g of water. - Don’t be scared of sticky dough – when making bread, the wetter the better. Adding more flour will make your dough tighter (stiffer), harder to work, less stretchy (so won’t rise as easily) and lead to a less moist loaf that will show sighs of staling more quickly. If you were making ciabatta, for example, you’d use a lot more water than this.
- Almost all brands of instant yeast contain artificial additives, so a loaf made with them wouldn’t meet our definition of Real Bread
- To be more energy efficient, bake your Real Bread when you are using the oven for something else e.g. a Sunday roast, lasagne or more Real Bread.
- If making a sandwich loaf in a tin, then instead of pulling the corners in and shaping into a ball, step 8 would be shaping the loaf by rolling the square up into a ‘sausage’ just shorter than your tin and placing it in seam side down. Alternatively, you can shape the dough into eight rolls, place them around 5cm apart on the tray and reduce the baking time to around 20-25 minutes.
- Bread is easier to cut once it’s cool
Recipe © Chris Young / The Real Bread Campaign
